Coffee Timer Project.
So my Bunn coffee maker died. It had a long life, it owed me nothing, but alas
now I have to find a new coffee machine. One would think this would be an easy no
brainer thing to do, but I'm an engineer, so nothing is an easy no brainer.
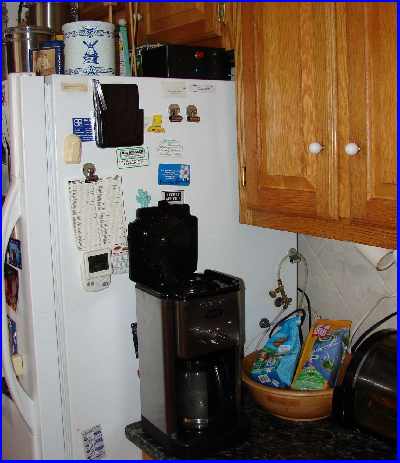
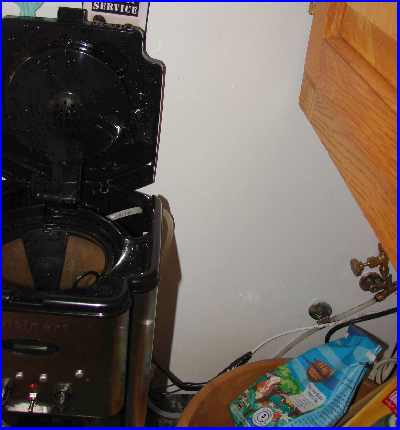
I wanted a machine that like my bunn, was hooked up to the water line of the house,
and when I push a button the tank fills to an exact amount. More specifically, it
fills for an exact amount of time, 80 seconds in my case based on the water line
pressure I had in the water line I used. (I put a "Tee" in the 1/4" plastic tubing
that fed the ice maker of the Fridge.)
So here is what I used:
1) a DEI 528T timer relay switch. This is made for a car and is 12v dc.
2) a 12v solenoid valve. What that means is its a water valve that opens when 12volts
DC is applied to the wires, and it closes when there is no voltage.
3) a 12VDC power supply. the DEI 528T uses 150mA, and the solenoid uses 500mA, so
I needed at least a 650mA power supply plus a bit for the LED. I had an old one from radio shack.
4) a pushbutton. known in the EE world as a SPST momentary switch.
5) a disconnect switch, also known as a toggle switch.
6) a LED. now to use an led its not like a regular light bulb. it needs a resistor
to keep from burning itself out. Resistors come in all kinds of ratings, so I checked
my LED, it was a 12v LED rated at 12mA. so I had to limit the amperage going to the LED
by the only formula of electronics that I remember, V=IR. so 12V = .012A x R. solving
for R, R = 12V / .012A = 1000 Ohms, or a 1k ohm resistor. I needed to put that inline on
the + side of the led so that only .012 amps gets through to the LED.
7) a box to put all the electrical stuff in.
So here are the instructions that came with the DEI 528T:
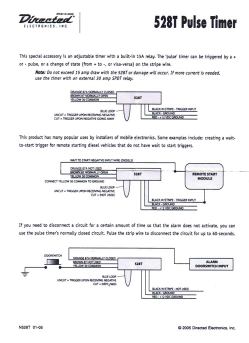
And yes, that's the actual size of the instructions. I had to scan it in,
and blow it up (click on the image.) to read it. Thanks a lot Directed Electronics.
Well after blowing up the instructions, how to put this thing together wasn't a whole lot
clearer. But after thinking about all the parts of the instructions that were listed, I
was able to figure out the parts that weren't. Here is how to wire a DEI 528T so that
on a button push, the valve opens for a set amount of time (the DEI 528T has a dial on it
to set the amount of time.):
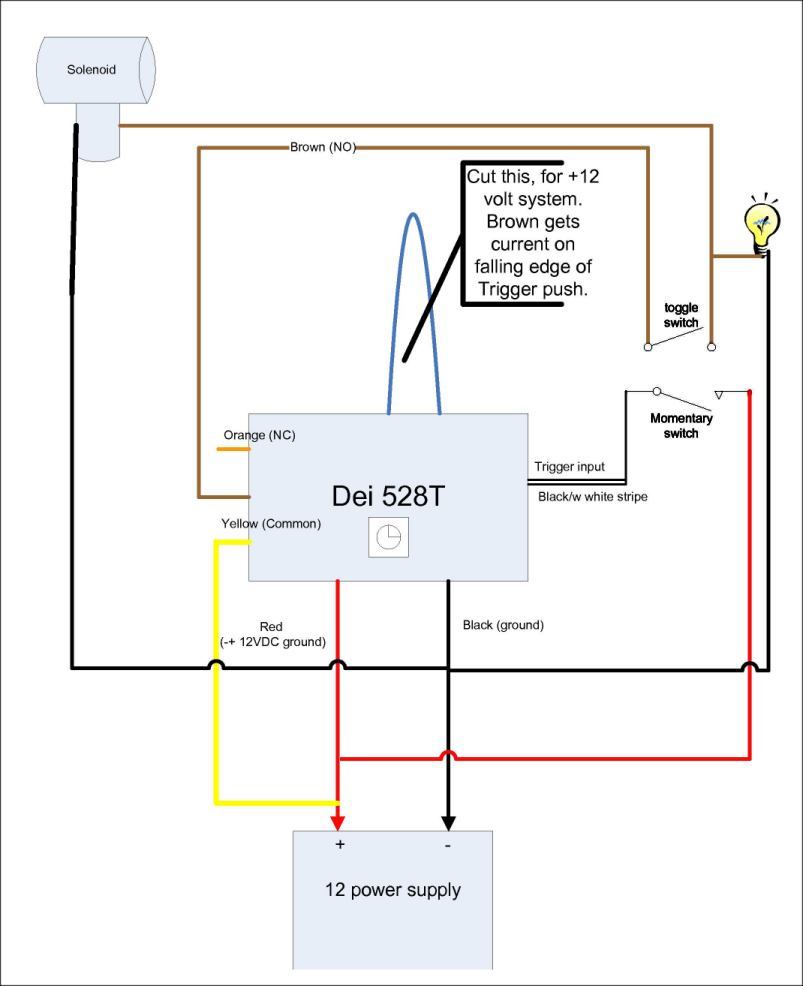
I was really confused about tying the yellow wire to to the power supply. The yellow wire
was labeled "common" and to me, that meant it was a ground. I also have yet to figure out
why the red wire was labeled "-+ 12VDC ground" Again Thanks for nothing Directed Electronics.
I also really appreciated you not showing a real circuit design on the trigger, or the load; I was
also shocked how impossible it was to find out the Amperage of your circuit. Anyway, enough of the
rant. Wait one more, for the life of me I can't figure out what your talking about with the
blue wire. Nothing worked until I cut it though. Thanks for at least mentioning that it was
supposed to be cut in some circumstances. Generally we would call that blue wire a jumper,
and you really need to think about what the two states of the jumper really are (WTF is 'receiving
negative' when I hook this thing up to a +12vdc battery???) . Ok now I'm really done ranting.
So next up was to bench test all the parts, and low and behold it works!:
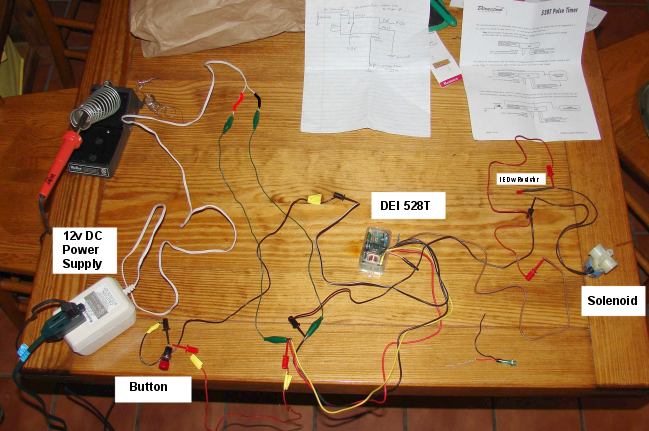
When you push the button in, nothing happens, but when you release the button, the LED lights
up, and the solenoid opens up. This is perfect. The only strange thing was that when I unplugged
the power supply, and then hit the button, the LED and the solenoid openned up for a brief second.
If I put power back on just after that, the led stayed lit for the duration of timer. I'm guessing
the circuit or power supply has some sort of capacitors in it holding a charge for some time, and
it can potentially open the valve on a power up. My Wife also pointed out that if a child sees that button,
he/she might just push it, and make a mess, so for this reason, I'm going ot also install a toggle switch
that disconects power to the solenoid just in case. So to work the circuit, one would first close the toggle
switch, and then push the button. The LED will light indicating that the tank is being filled, and sometime after
that one can flip the toggle switch down just in case some little rug rat comes along wildly pushing buttons
(not as far fetched as one migh expect for those of you who don't have kids.)
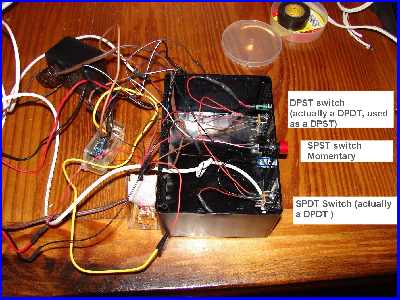
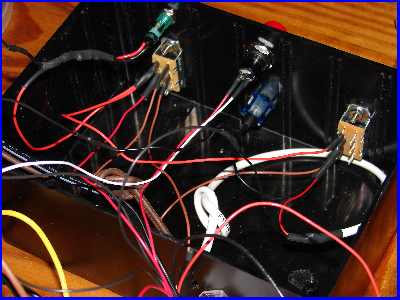
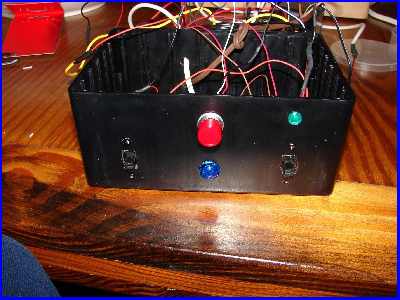
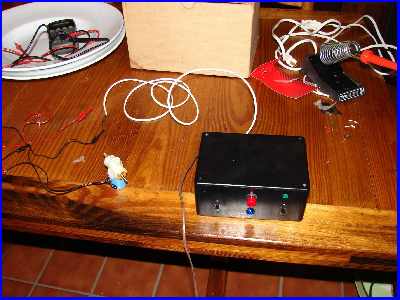
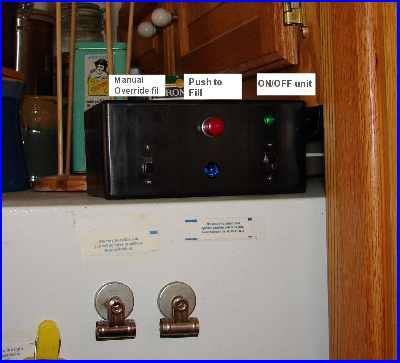
Now for the final version!!! I added an override switch so that
you could fill the pot by hand if you want as well:
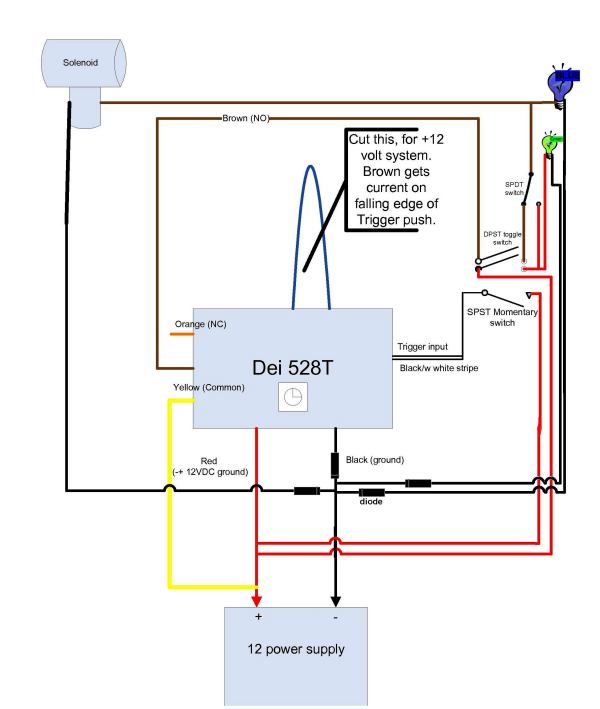
and best of all it works:
What's the deal with home coffee carafe ???!!!!!?????
What mental titan decided that the spout should be pointed down???
Almost every
coffee maker I found for some odd reason has the spout aimed down:

instead of up:

Like every water spout that has ever been made since man crawled out of the slime.
For the life of me, I can't figure out how to pour a cup of coffee from a downward aimed
spout without the coffee dribbling down the side, and getting all over my shoes.
What possessed coffee machine designers to make this change is beyond my comprehension.
I mean its not like is a water spout when your washing so getting water everywhere is kinda the
idea; this is really hot coffee for pete's sake! It boggles the mind...
sincerely,
Jonathan
|